
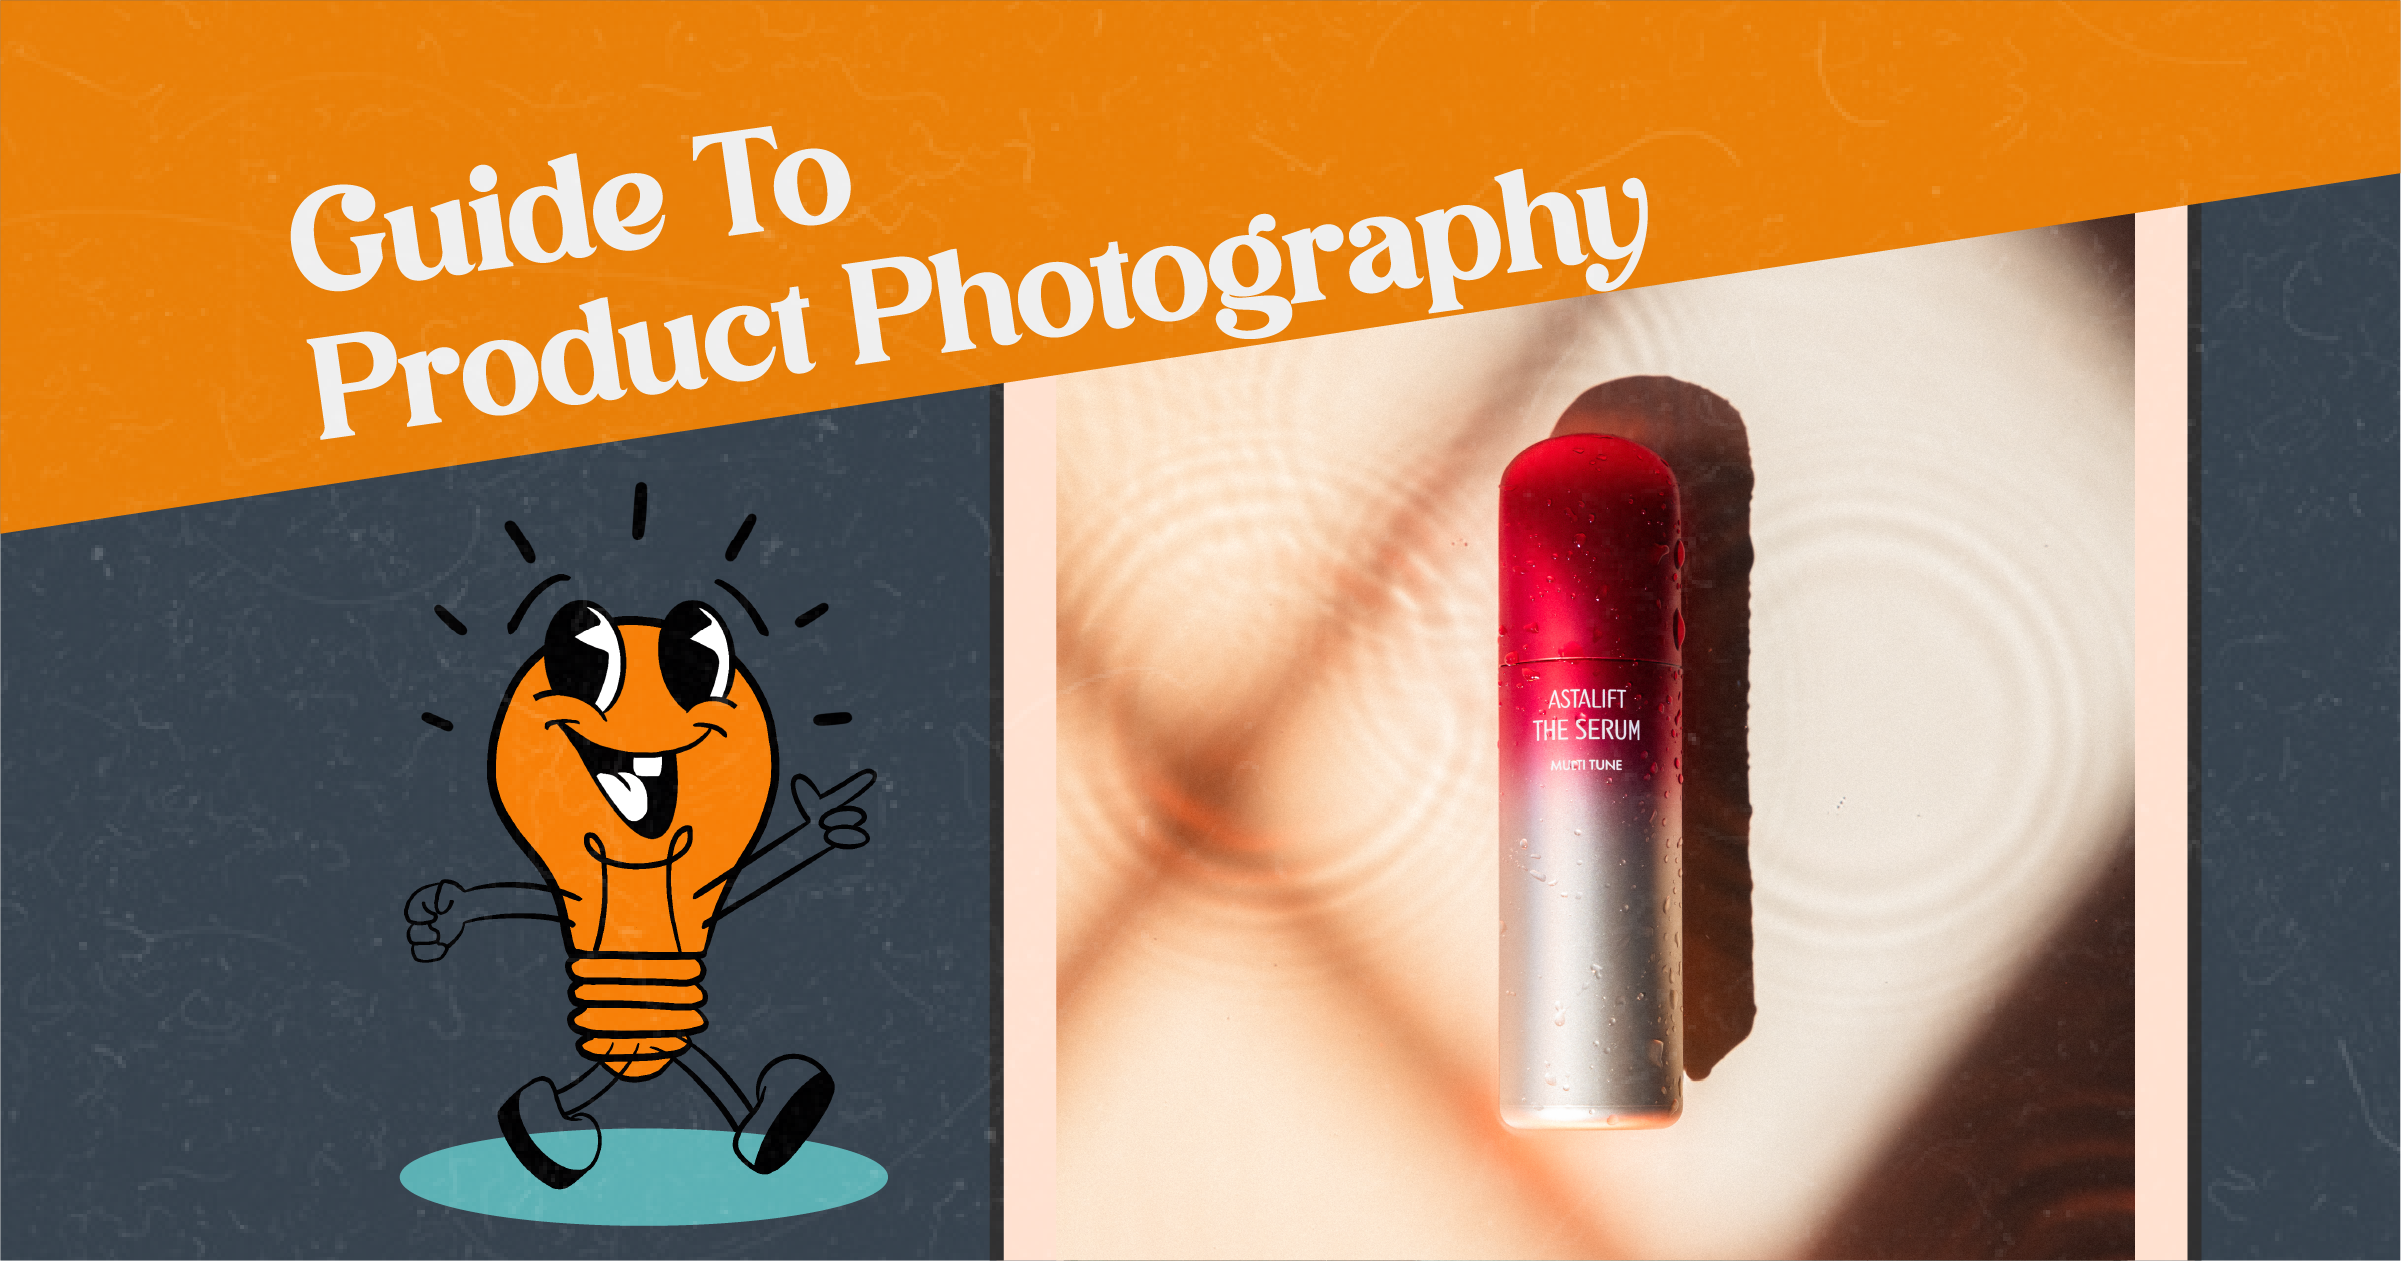
Guide to Product Photography – Tips and Techniques
In today’s highly visual world, product photography plays a crucial role in attracting customers, driving sales, and enhancing brand perception. Whether you are a business owner, a freelance photographer, or simply someone looking to showcase your own products professionally on social media, understanding the art of product photography can make a significant difference in how […]
Aug 20, 2025
![]() 6 mins read
6 mins read
Sharlize
Content Creator


In today’s highly visual world, product photography plays a crucial role in attracting customers, driving sales, and enhancing brand perception. Whether you are a business owner, a freelance photographer, or simply someone looking to showcase your own products professionally on social media, understanding the art of product photography can make a significant difference in how your products are perceived by the public. This guide will walk you through essential tips and techniques to capture high-quality images that elevate your brand.
Why Product Photography Matters
Product photography is a powerful storytelling tool. Excellent product images capture the essence of an item—its unique selling features—and appeal directly to potential customers. High-quality photos that tell a compelling story behind each shot give shoppers the confidence to purchase products online without seeing them in person. Conversely, poorly lit, grainy, or unattractive images can deter buyers, even if the product itself is of great quality.
Getting Started with Product Photography
Before diving into specific techniques, it’s important to get your setup right. Here are some essential elements you need to consider before capturing your first shot:
1. Camera and Equipment
You don’t necessarily need the most expensive camera, but having the right tools for the job is critical.
- Camera: A DSLR or mirrorless camera is ideal due to its superior control over aperture, shutter speed, and ISO. However, modern smartphones with high-quality cameras can also produce great results for product photography.
👉 Watch this video to find out how to effectively take product photography at home on a budget (with a smartphone).
👉 Read this article to find out the best settings on your iPhone 15 to shoot the best quality videos. - Lenses: A standard 50mm lens is a great starting point as it closely mimics what the human eye sees. A macro lens is useful for close-up details, while a zoom lens provides flexibility for different types of products.
- Tripod: A sturdy tripod ensures sharp images, stability, and consistency across multiple shots.
- Lighting: Natural light works well, but softboxes, ring lights, and LED panels give you greater control.
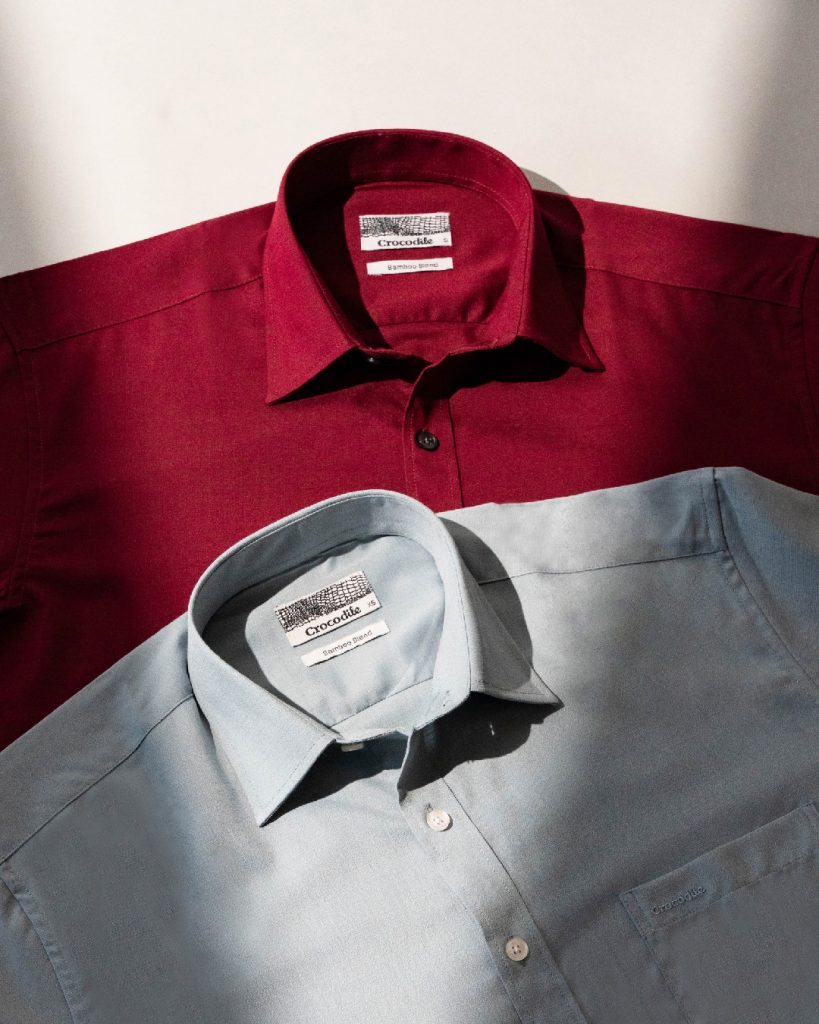
2. Backdrop and Surface
The backdrop you choose should enhance your product, not distract from it.
- White or Neutral Backgrounds: These are the safest option for most e-commerce platforms.
- Lightbox: Perfect for small items, providing consistent lighting and minimal shadows.
- Creative Surfaces: Wood, fabric, or reflective glass can add texture and mood when appropriate.
Essential Tips for Capturing Product Photos
1. Lighting Techniques
Lighting defines the shape, color, and texture of your product.
- Natural Light: Use windows with diffusers like sheer curtains for soft light.
- Artificial Light: Two softboxes at 45-degree angles give balanced lighting.
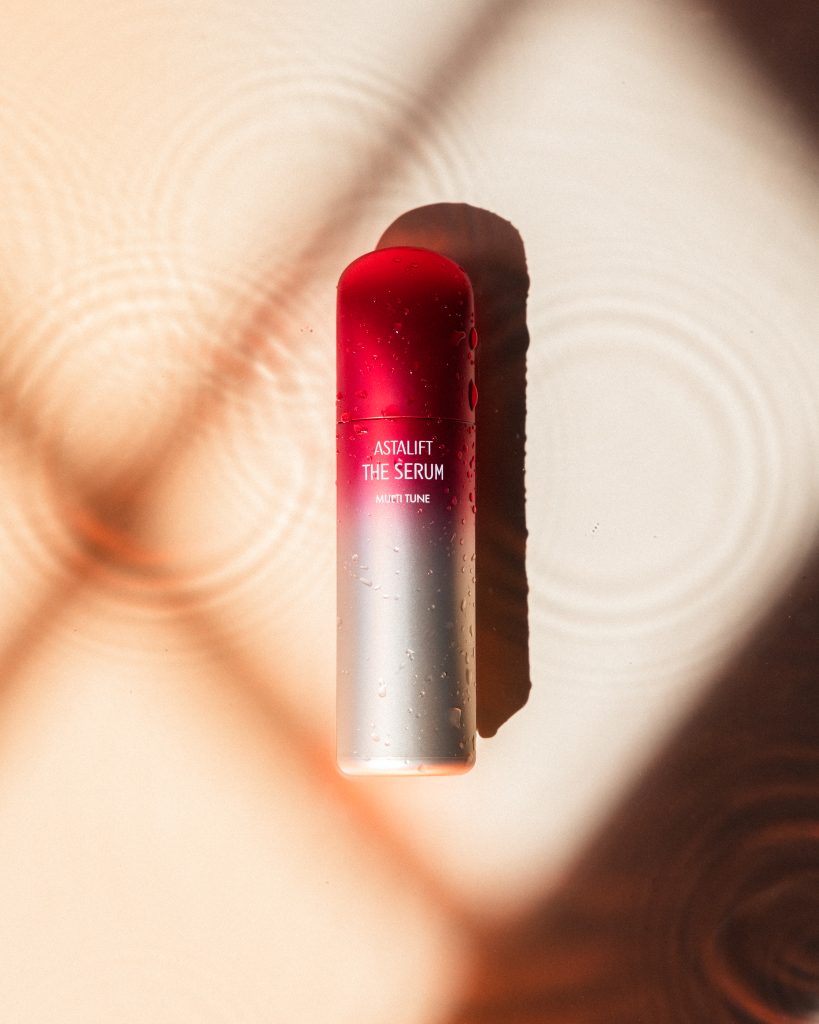
- Backlighting: Ideal for glassware, liquids, or translucent materials.
2. Use of Shadows and Reflections
- Shadows: Subtle shadows add depth and realism.
- Reflections: Glass, jewelry, and electronics often look more premium when shot on reflective surfaces like acrylic sheets.
3. Focus on Details
Customers want to see craftsmanship.
- Close-ups: Highlight textures, labels, and fine details.
- Aperture Control: Use higher f-stop values (e.g., f/8–f/16) to keep the entire product sharp.
4. Use a Consistent Style
Consistency builds trust and professionalism.
- Lighting Consistency: Same light sources across your catalogue.
- Angles: Use standard perspectives (head-on, 45-degree, or flat lay).
- Backgrounds: Keep them consistent or complementary.
👉 Read more about the Do’s and Don’ts of branding for your products.
5. Post-Processing and Editing
Editing polishes your work.
- Color Correction: Ensure accurate representation.
- Imperfection Removal: Eliminate dust, smudges, and scratches.
- Cropping & Straightening: Make sure the product is centered and aligned.
Additional Tips to Elevate Your Product Photography
To further refine your shots and stand out in competitive markets, consider these advanced techniques:
- Experiment with Angles
Don’t limit yourself to one angle. Shoot from multiple perspectives (top, side, and close-up) to give customers a full view. - Tell a Story with Composition
Incorporate the rule of thirds, leading lines, and negative space to direct attention toward the product naturally. - Mind the Scale
Help viewers understand the size of the product by including a familiar object for reference, especially for small items like jewelry or accessories. - Color Psychology
Choose background or prop colors that align with your brand identity and trigger the right emotions. For example, blue conveys trust, while red suggests urgency or passion. - Use Textures in Backgrounds
Adding wooden, fabric, or stone textures can give more depth and mood to your photos. This works well for lifestyle or artisanal products. - Motion and GIFs
Short product videos or GIF loops showing 360-degree views can be more engaging than static shots, especially on social media. - Minimalism Works
Sometimes less is more. A clean, uncluttered photo with plenty of negative space can highlight the product beautifully. - Focus Stacking
For macro photography (like watches or rings), combine multiple shots at different focus points to create one image with complete sharpness. - Show Variants Clearly
If your product comes in different colors or sizes, photograph them side by side to reduce confusion and increase buyer confidence. - Optimize for Platforms
Adjust your crop ratios depending on where you’re posting. For example:
- Instagram: 4:5 ratio.
- Website banners: Wide horizontal.
- E-commerce sites: Square format.
Creative Techniques for Enhanced Product Photography
Lifestyle Photography
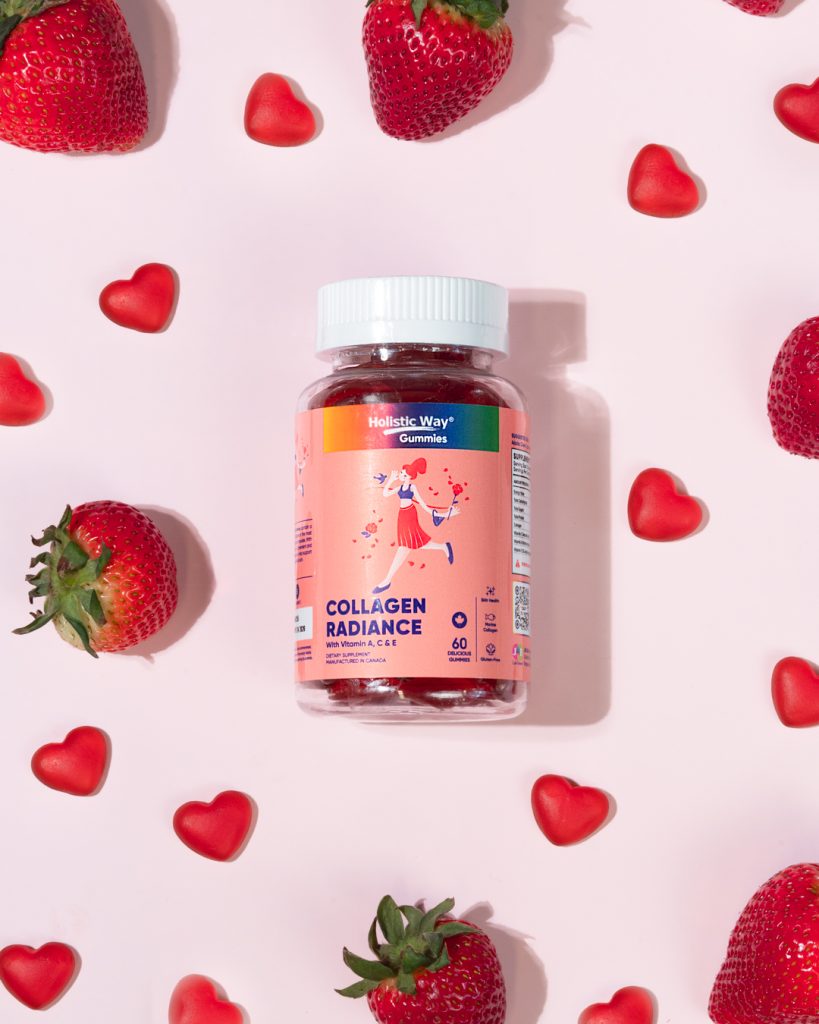
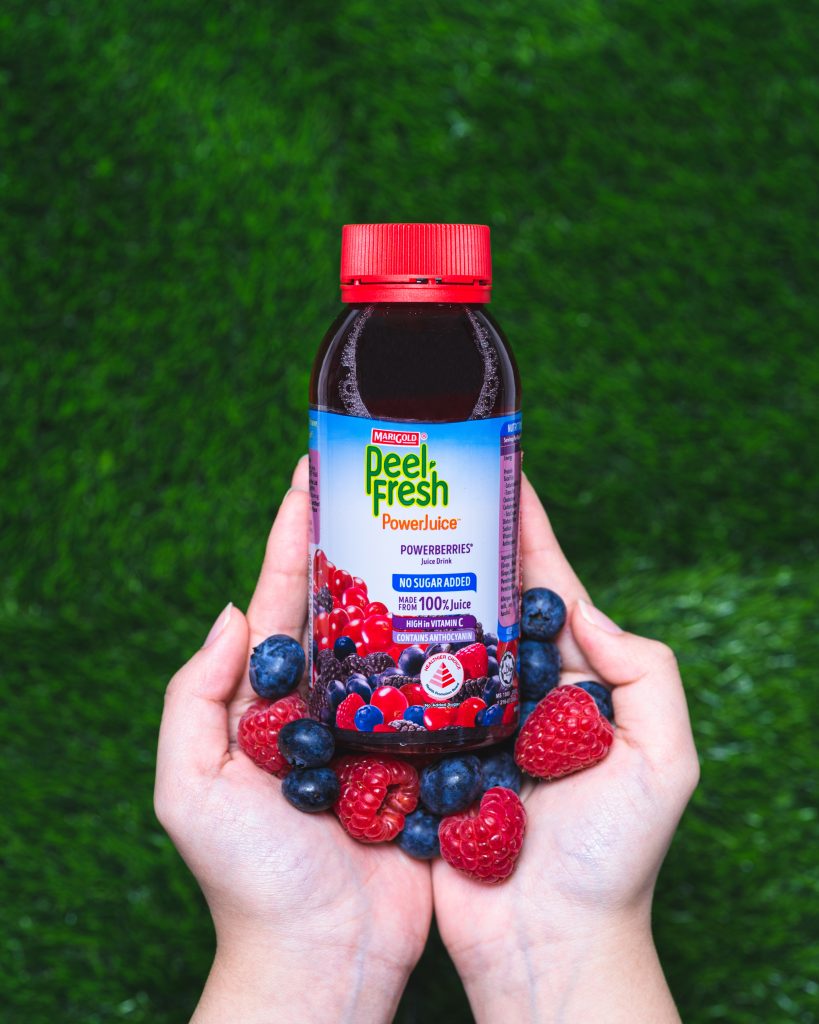
Show the product in real-life usage. Example: A mug on a breakfast table instead of just on a white backdrop.

Flat Lay Photography
Perfect for fashion, food, and accessories. Keep arrangements neat and balanced.
Product Grouping
Useful for bundles or product sets—arrange them creatively to tell a story.
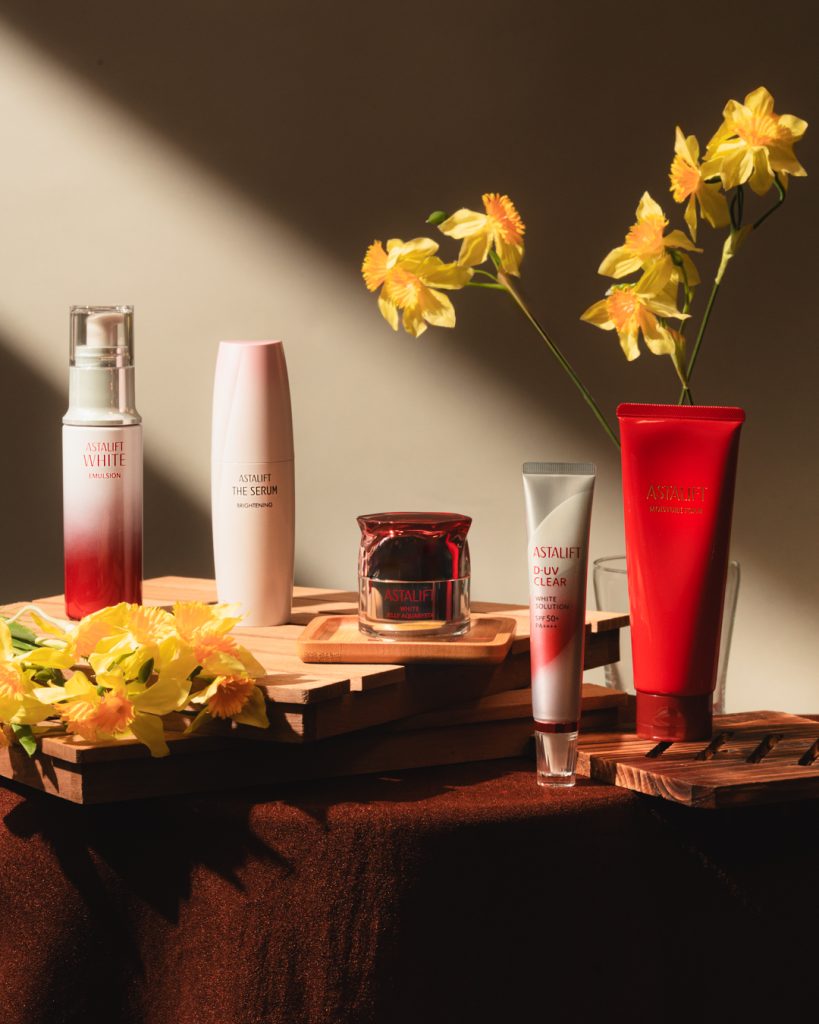
Incorporate Props
Props should complement, not overshadow, your product.

Conclusion
Mastering product photography requires technical precision, creativity, and consistency. By carefully setting up your equipment, experimenting with lighting, maintaining a consistent style, and using advanced techniques like storytelling compositions or lifestyle setups, you can create professional-quality images that inspire trust and drive conversions.
Whether you’re selling on a website, social media, or marketplaces like Shopee, Lazada, and Amazon, strong product photography is one of the most effective investments you can make for your brand.
Related Articles

What Is Branding & Why It Matters For Singapore Businesses?
Oct 17, 2022
![]() 5 mins read
5 mins read

Video: Creating A Strong Brand Identity
Nov 14, 2022
![]() 1 mins read
1 mins read

Podcast Marketing And Why It Matters
Nov 17, 2022
![]() 4 mins read
4 mins read

Ephemeral Content Marketing Strategy – All You Need To Know!
Nov 6, 2024
![]() 7 mins read
7 mins read


